Quick-Start Guide
New to KMD PlassData DVI System or upgrading from af previous version? Learn the basics by using this guide.
Connect to server
Connect to the server by using the server directions given by your local administrator.
Client devices and browsers
Browsers
Use all modern browsers (Android, iOS etc.)
- Chrome is the primary browser for testing
- Windows is the primary desktop Operating System
- iOS is the primary Tablet/Phone platform
Devices
Use multiple devices like desktop, tablet or mobile phones.
Please see below for expected experience:
- Desktop: Full experience
- Tablet: Full experience
- Mobile phones: File search and create/edit
Login
Open KMD PlassData 6 and login by using your local account (username and password) provided by your local administrator.
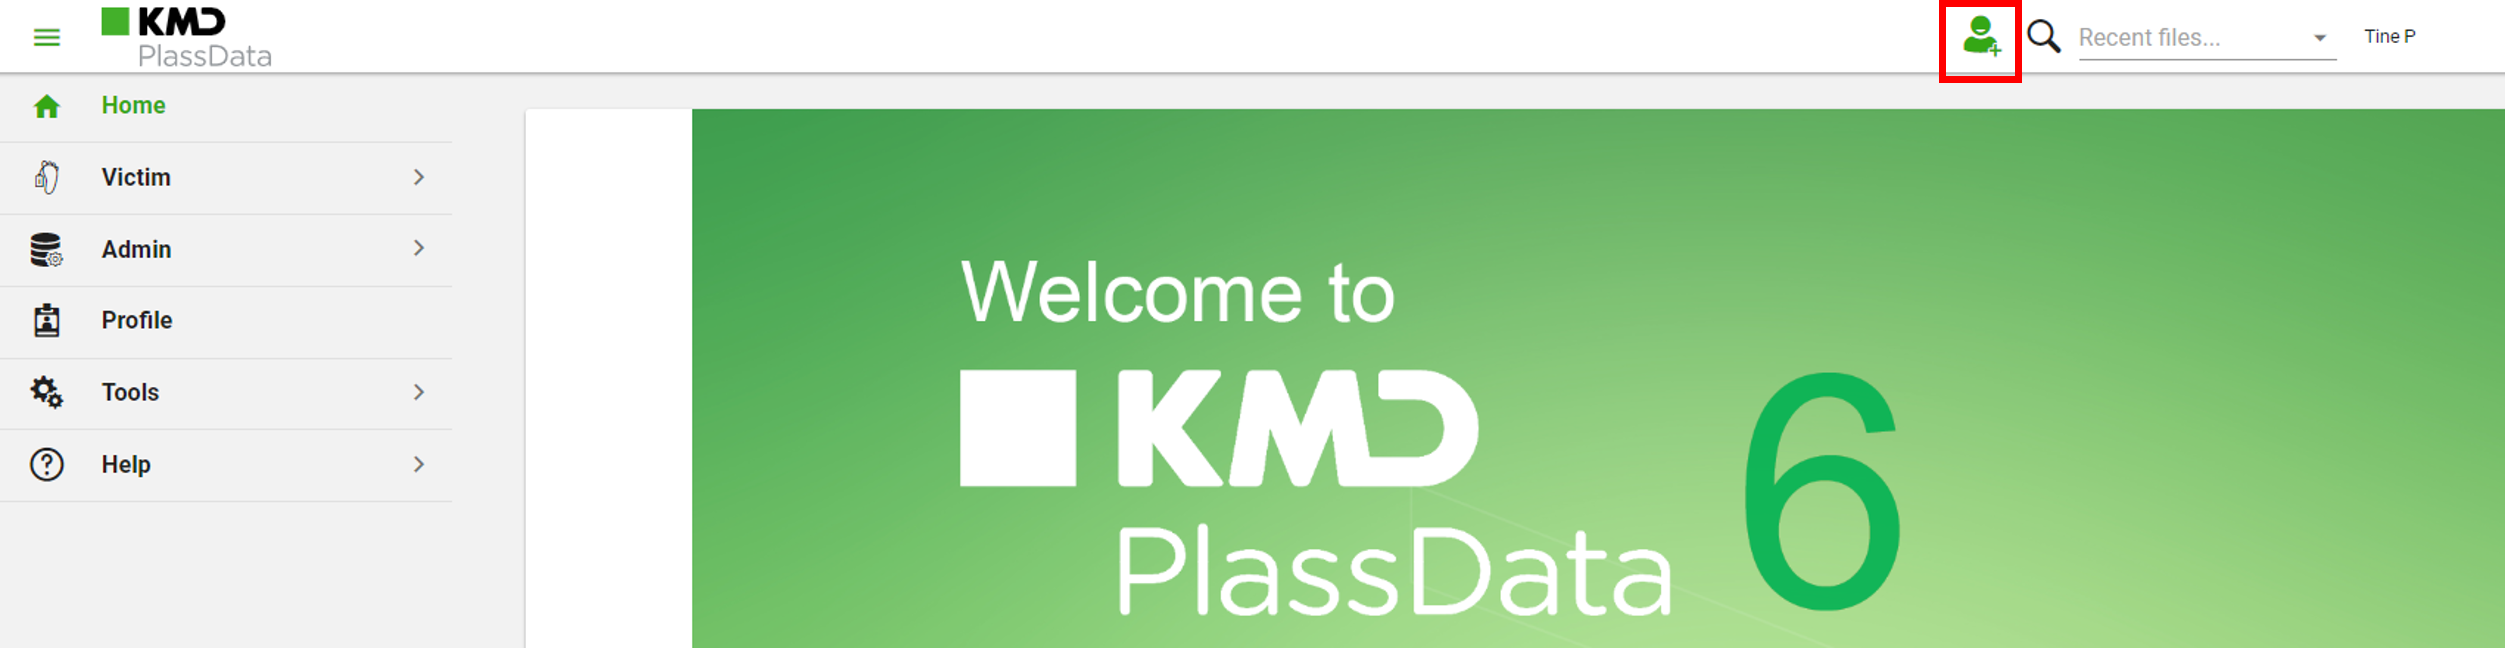
Welcome page
When logged in you will see the Welcome page.
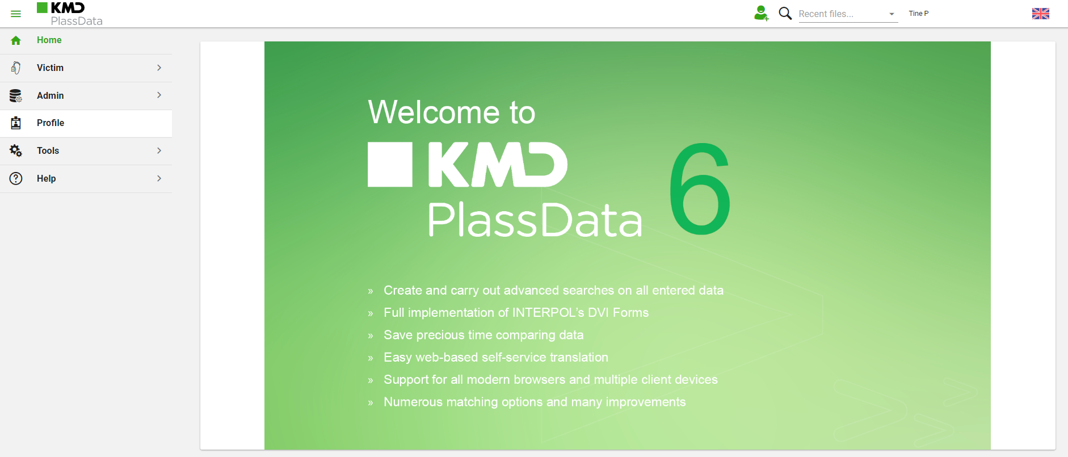
Now either select the Victim tab in menu on the left hand side of the screen to see your initial options
or click on the Create new files or the File Manager icon in the top menu at the top right of the screen
![]()
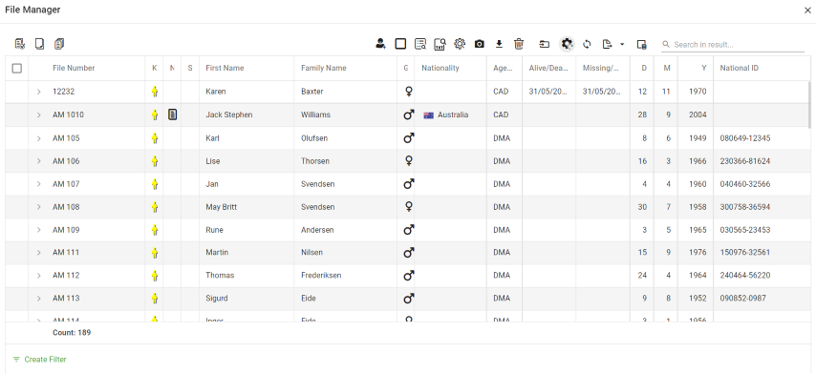
File Manager
The File Manager manages the list of your files. In the File Manager you can for instance Create new files, Search for files, Manage notes, Manage attachments, Export and Import files, Print list of search results, Print forms etc.
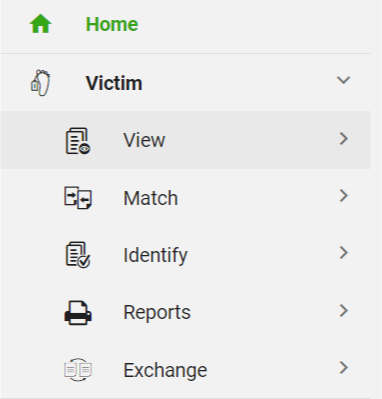
To find the File Manager
- Select the Victim tab in the menu on the left hand side of the screen.
- Select the View tab
- Select the File Manager tab
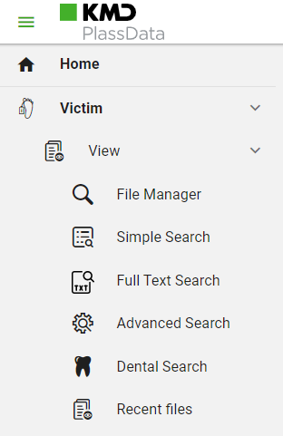
or
- Click on the magnifier in the top menu

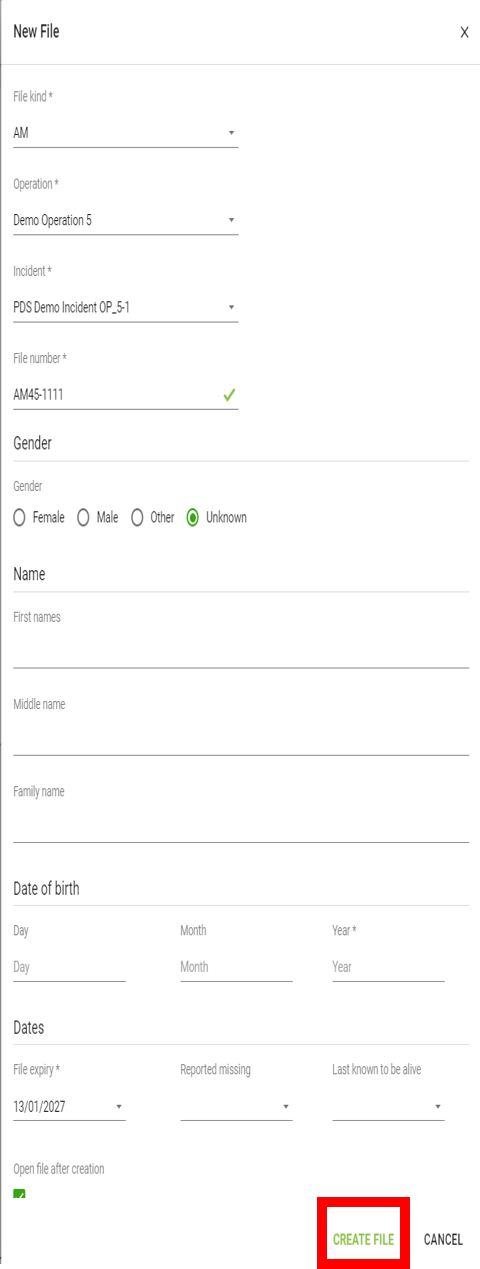
New File
To create a new file Click on the New file icon in the top menu
or Click the New file icon in the top menu of the File Manager

- Select File kind (AM, PM, PUI, FM)
- Select Operation
- Select Incident
- Type File number. NOTE: File kind, Operation and Incident must be selected before file number format is known.
- Choose Gender (Female, Male, Other or Unknown)
- Enter Name
- Enter Date of Birth
- Enter File expiry date
- Click Create file at the bottom right of the New file page.
Search for File
To search for a file
click on the File Manager/Search icon ![]() in the top menu
in the top menu
or select one of the following
- the File Manager tab in the menu on the left hand side of the screen.
- the Simple Search tab
- the Fulltext Search tab
- the Advanced Search tab
- the Dental Search tab
- the Recent files Search tab
If you choose File Manager you now have 4 search options:
- Quick Search Field: Type your search words (File number, First name, Last name, Birth year or National ID) in the Quick Search field and click Enter

Specify your preferred search parameters - for instance:
- File kind
- Gender
- Incident and Owner
- File status
- Date periods
- Hair colour
- Specific details
- Body
Then click Search (in green) at the bottom on the right hand side of the screen and your search results will be listed.
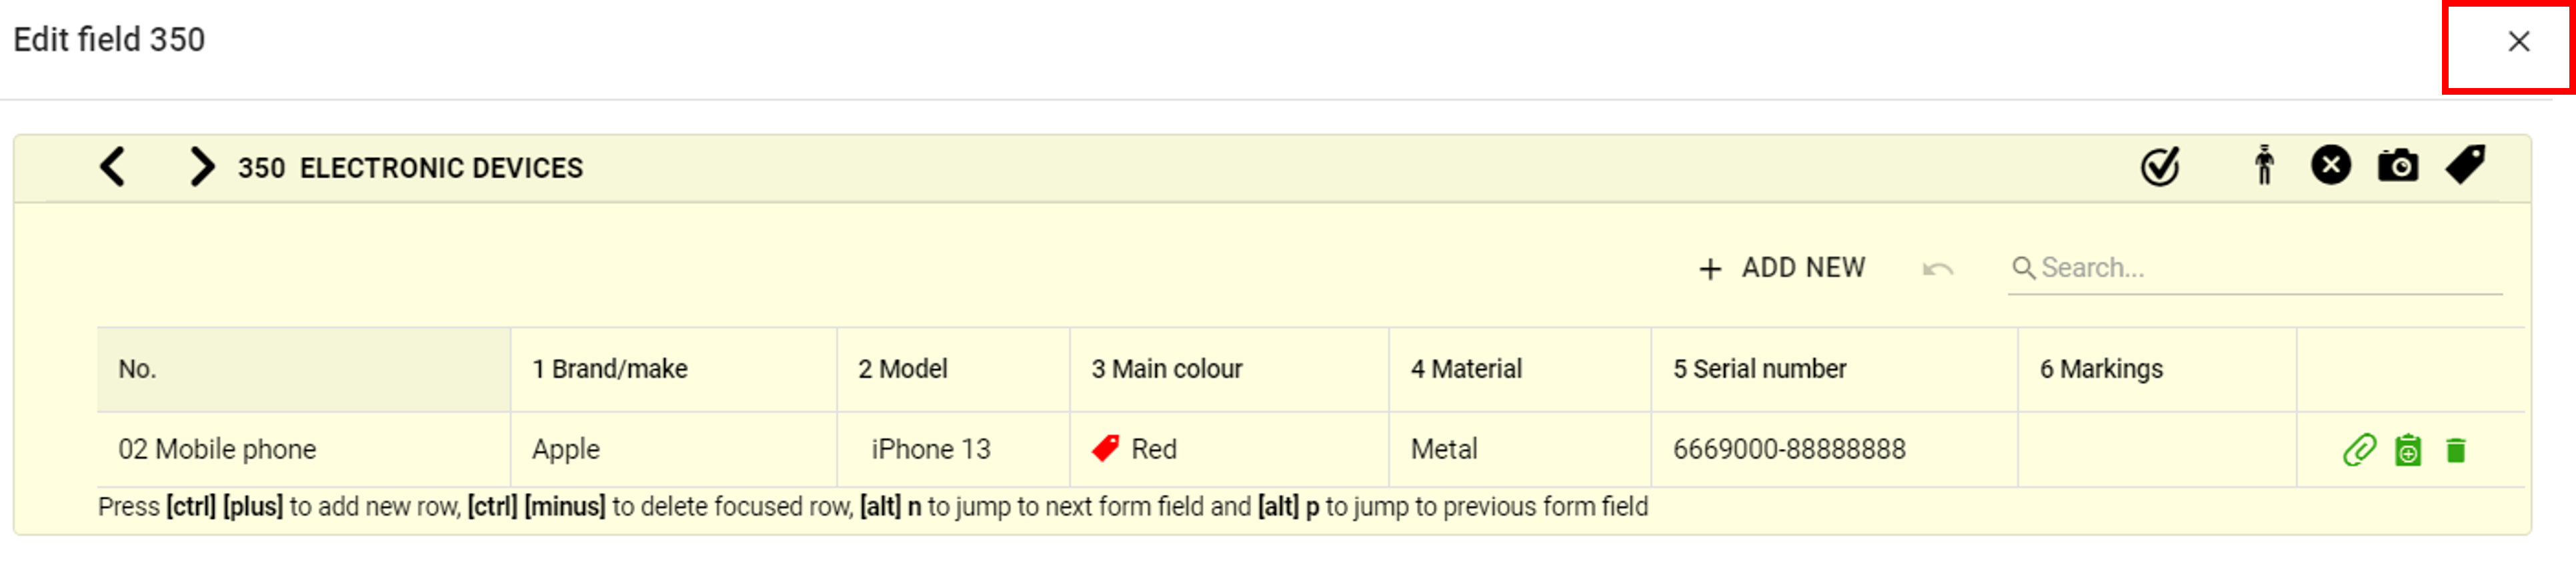
Edit File
To edit a file right-click on the file you want to edit in the File Manager and then click Open “File number”
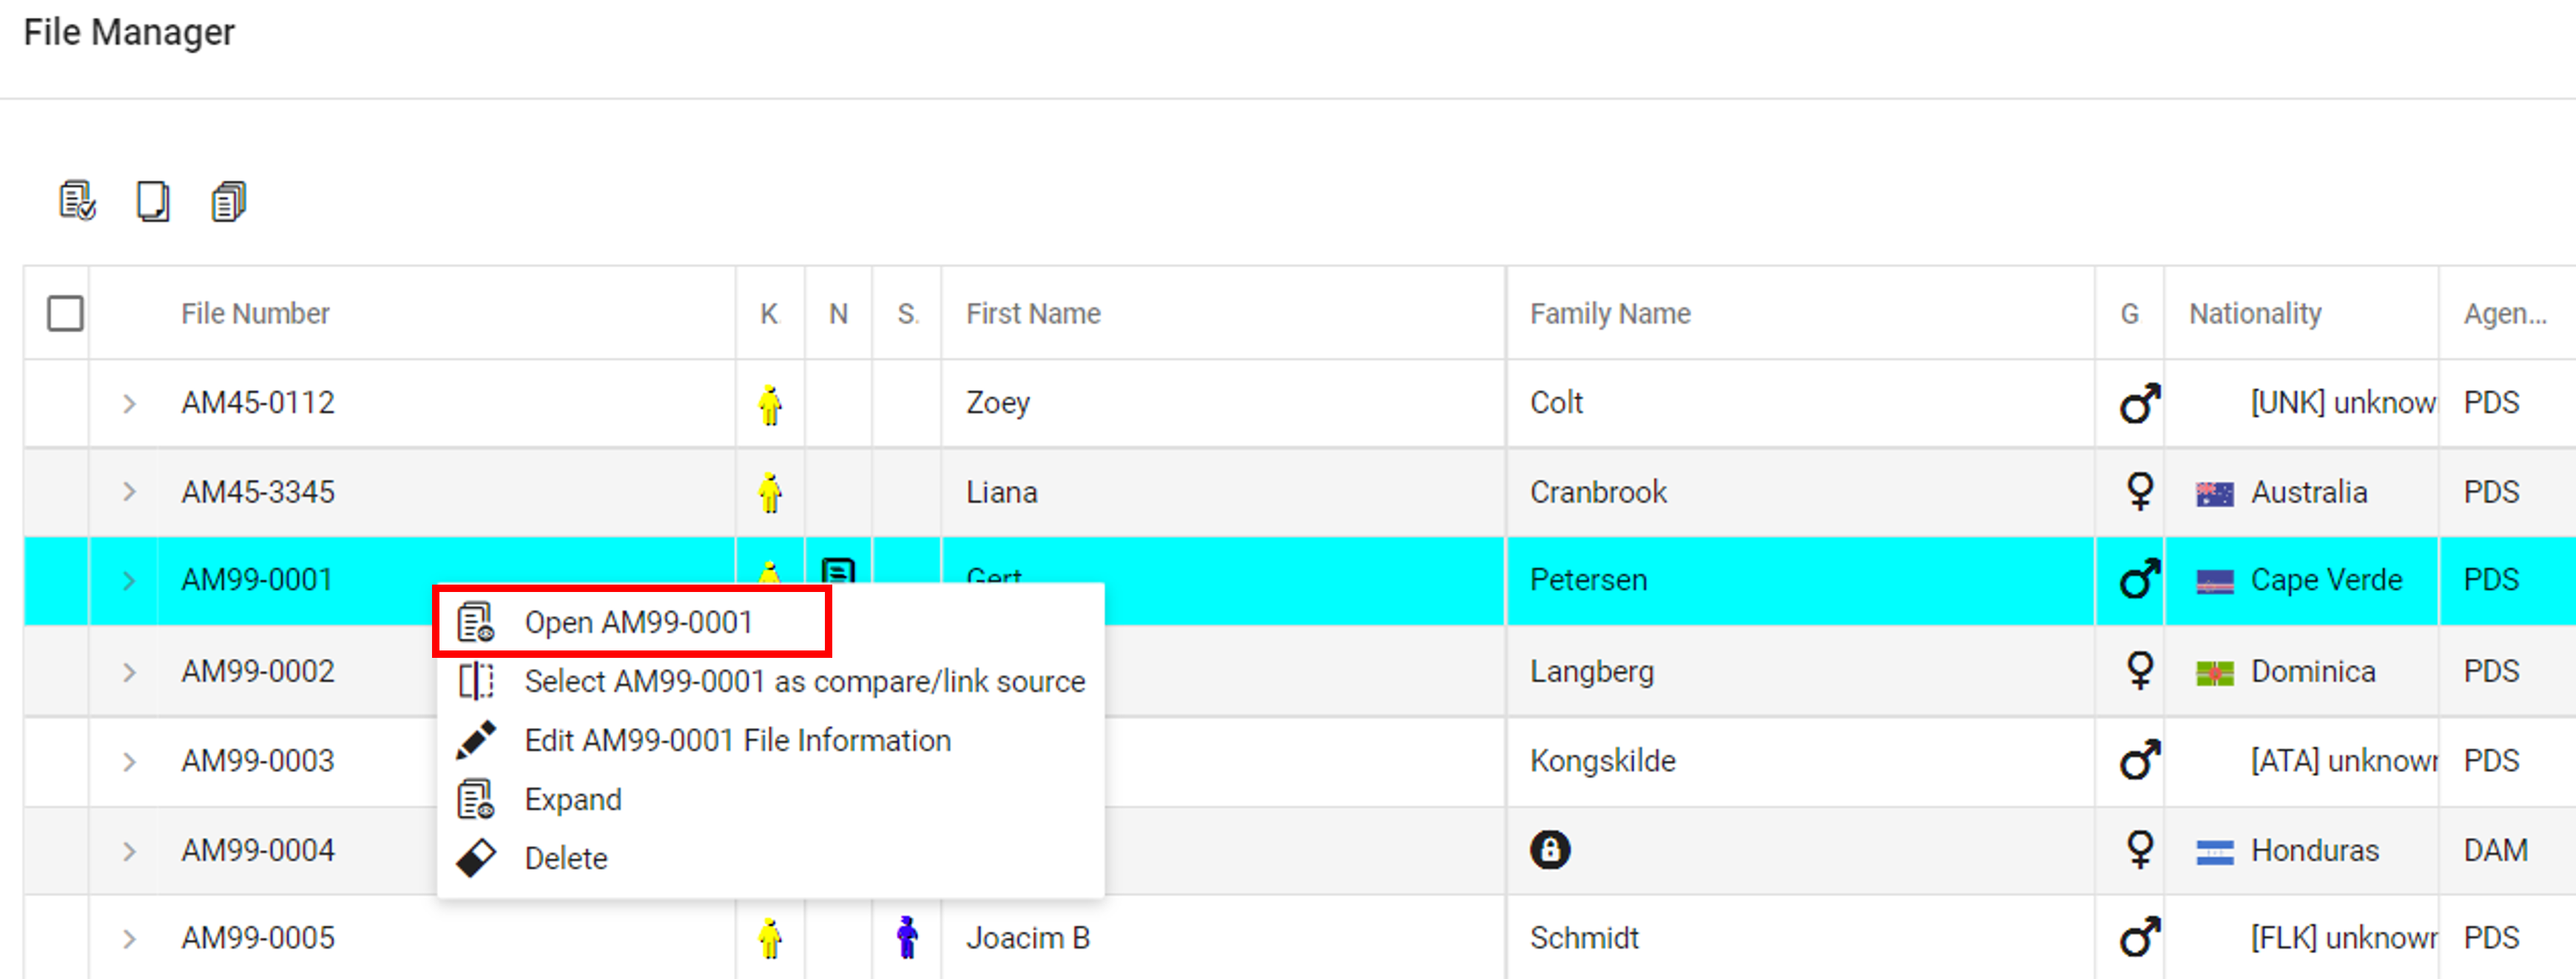
Click on the pencil next to the information you want to edit


Edit the relevant information or add new information and save the changes by clicking the Save changes icon in the top right side of the screen.
![]()

NOTE: To save changes you can also click one of the arows next to field header. When clicking the arrow your changes will be automatically saved.
![]()
When you want to leave the edit mode just click the  in the top right side of the file:
Print INTERPOL Forms
To print INTERPOL forms click on one of the Print forms icons in the top left menu of the File Manager
![]()
You have the choice of
- Print forms for selected files
- Print empty forms or
- Print numbered forms (numbering specified by you)
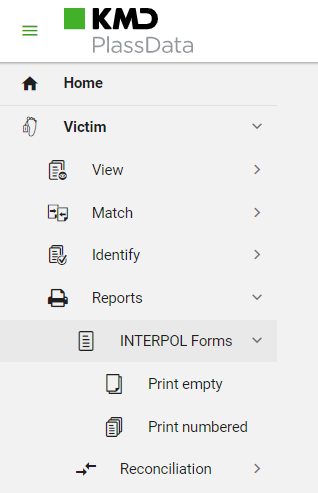
NOTE: To Print forms you can also click the one of the Print forms choices in the INTERPOL Forms tab in menu on the left hand side of the screen.
To find the INTERPOL Forms tab
- Select the Victim tab in the menu on the left hand side of the screen.
- Select the Reports tab
- Select the INTERPOL Forms tab
Automatic logout on inactivity
Your local administrator may have configured a policy where you will be logged out of the system if you are not actively using it by moving the mouse or typing on the keyboard.
You will see this popup dialog if you are inactive/idle for the configured timespan:
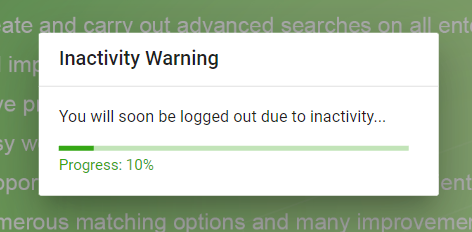
It will display 10 steps from 10 to 100%, and you will be logged out if mouse or keyboard is left untouched in this timespan. All unsaved data is discarded without further warning. The popup dialog will automatically disappear if activity is detected.