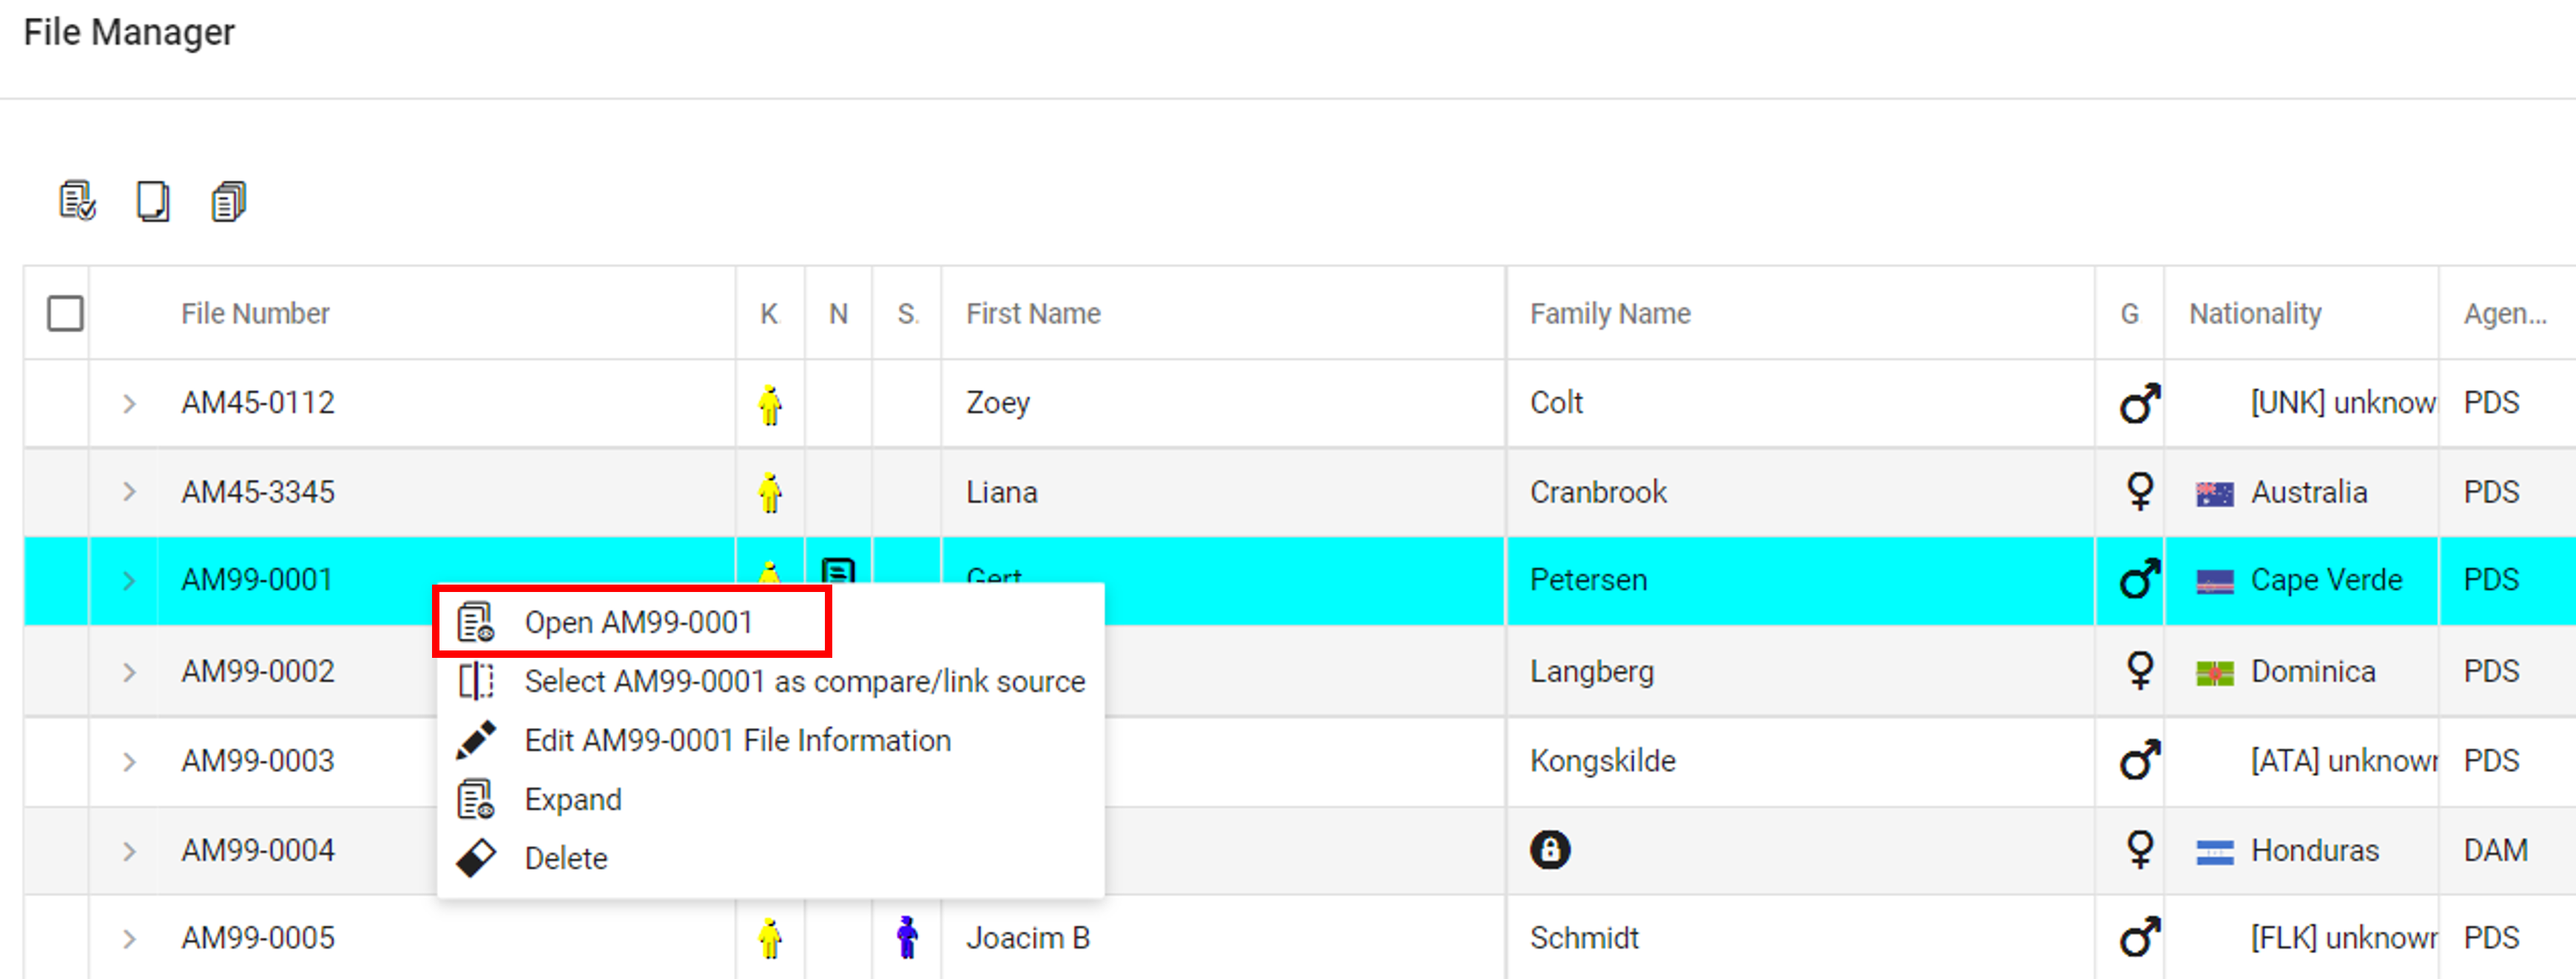
Edit Files
To edit a file right-click on the file you want to edit in the File Manager and then click Open “File number”
Page design and content
The individual forms are only described in more detail when special non-DVI or MPUB user knowledge is needed. This user guide assumes that the you are already trained in the DVI / MPUB area and knows about the practical use of the paper-based forms. One source of such knowledge is the DVI Guide – practical compendium to forms C and D of the INTERPOL DVI forms. Another source is the INTERPOL Disaster Victim Identification Guide.
Page design
Screen pages replicate the printed INTERPOL forms (but with added functionality), so you will never be in any doubt about where data from the INTERPOL forms must be inserted into the system.
In the printed DVI forms you see the a, b and c column on the right side of a form page:
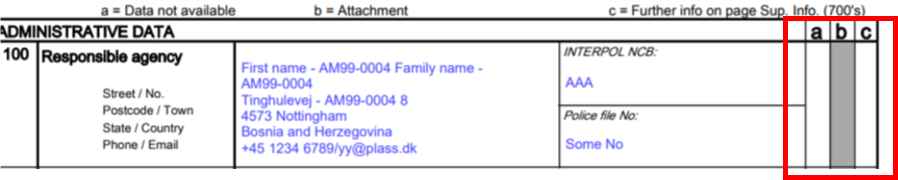
Column a: If column a is marked, there is no data available for the data field.
Column b: If column b is marked, an attachment exists relating to this data field.
Column c: If column c is marked, there is an additional text note (further info on page Sup. Info. (700’s).
In the V6 form fields the a,b and c columns are visualized by the following icons:
- Column a is visualized by the Clear content icon:

- Column b is visualized by the Attachment icon:

- Column c is visualized by the Additional text icon

AM forms content:
This form set contains the following information:
100: Administrative data
200: Nominal data
300: Effects (possibly carried on person or in luggage)
400: Body description (external)
500: Pathology
600: Odontology
700: Supporting Information
800: Appendix DNA
PM and PUI Forms Content:
This form set contains the following information:
100: Administrative data (checklist of operations in the mortuary)
300: Effects (possibly carried on person or in luggage)
400: Body description (external)
500: Pathology
600: Odontology
700: Supporting Information
800: Appendix DNA
MPUB Form Content:
This form contains the following information:
900: Unidentified body
Edit content of a field:
Click on the pencil next to the information you want to edit


Edit the relevant information and save the changes by clicking the Save changes icon in the top right side of the screen.
![]()

NOTE: To save changes you can also click one of the arows next to field header. When clicking the arrow your changes will be automatically saved.
![]()
Manage field related attachments:
To manage field related attachments click on the attachment icon
![]()
Now you can create new attachment directories

and upload files

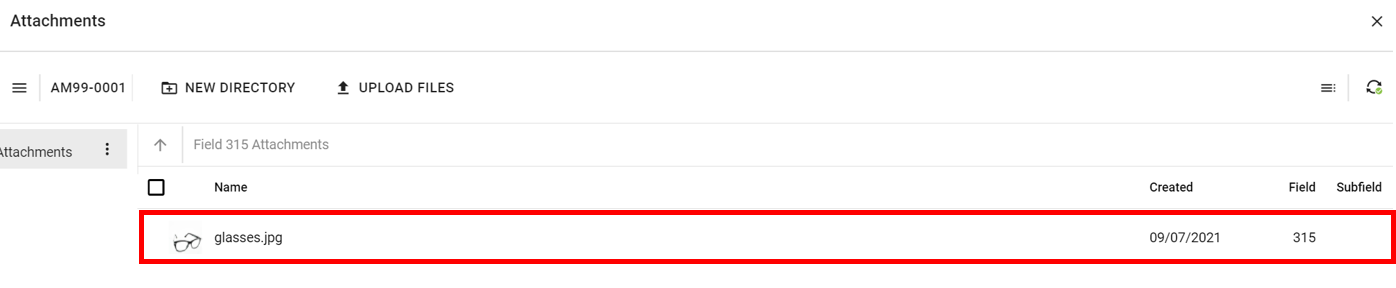
After uploading files/creating new attachments you will see the number of attachments relating to this data field on the attachment icon:
![]()
Manage additional text for the field
To manage additional text for a field click on the Additional text icon
Now you can add additional text for the field.
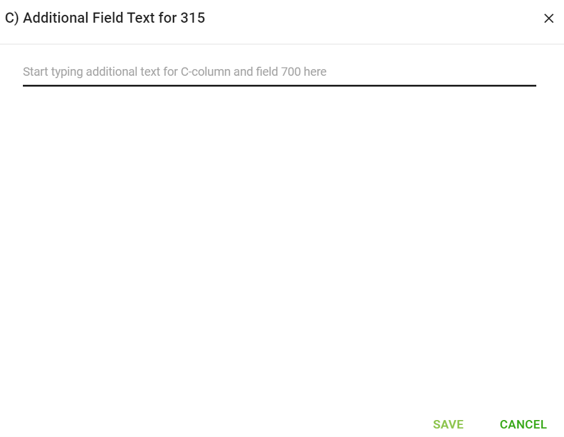
After adding additional text you will see the number of text notes relating to this data field on the additional text icon:

NOTE: See all additional text notes for a file on field 700 - Supporting Information.
Clear field content
If no field data is available you can set “No data available” and clear field content accordingly by clicking on the Clear content icon
![]()
Then click OK in the Clear field pop up window
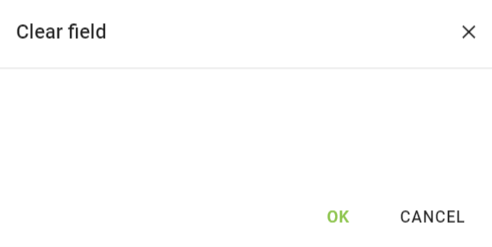
which results in the collapse of the field. All field icons will be replaced by a Collapsed field icon ![]() .
.
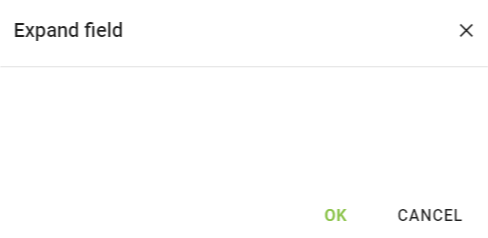
To reset/expand the field click the Collapsed field icon and then click OK in the Expand field pop up window:
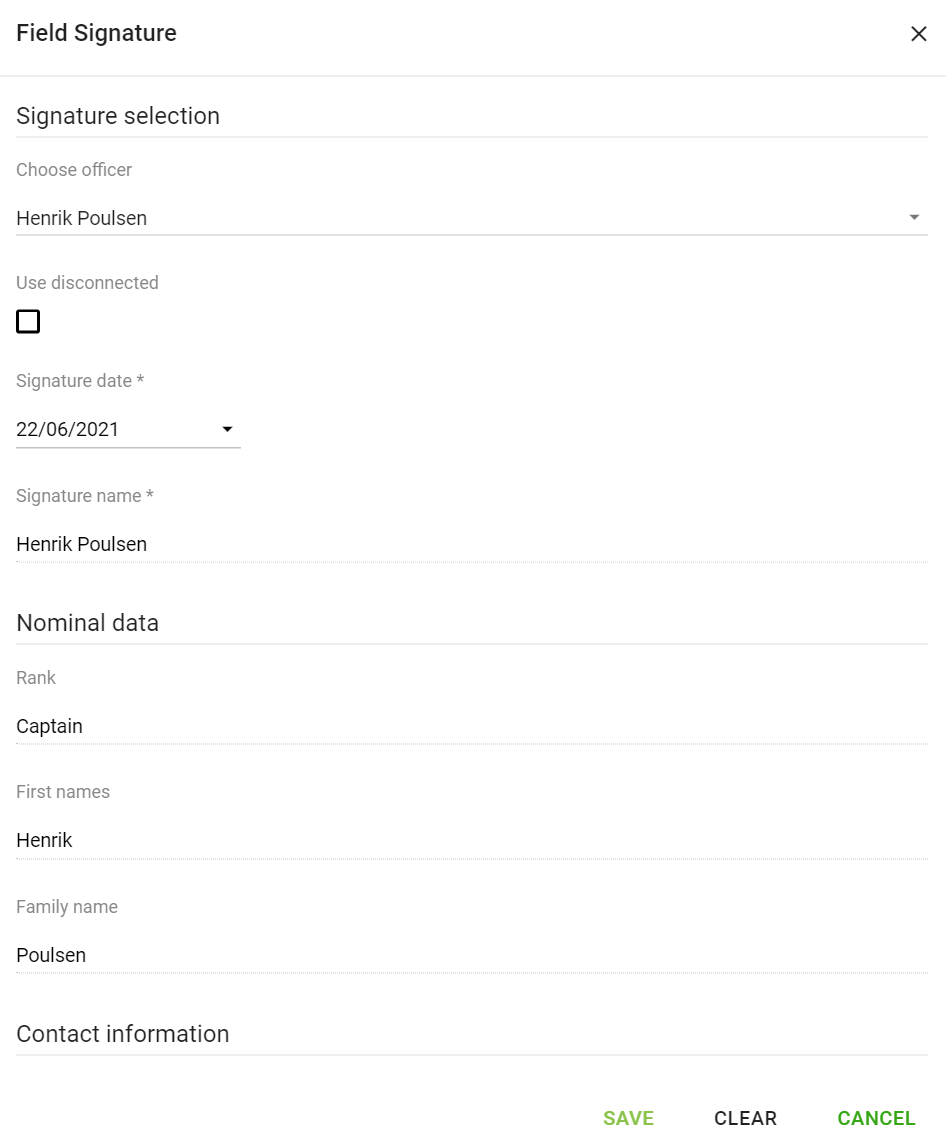
Edit details of signing officer
To edit details of Signing officer click on the Signing officer icon
![]()
Edit the relevant information and save the changes by clicking Save at the bottom right of the page.
Edit in Expanded View
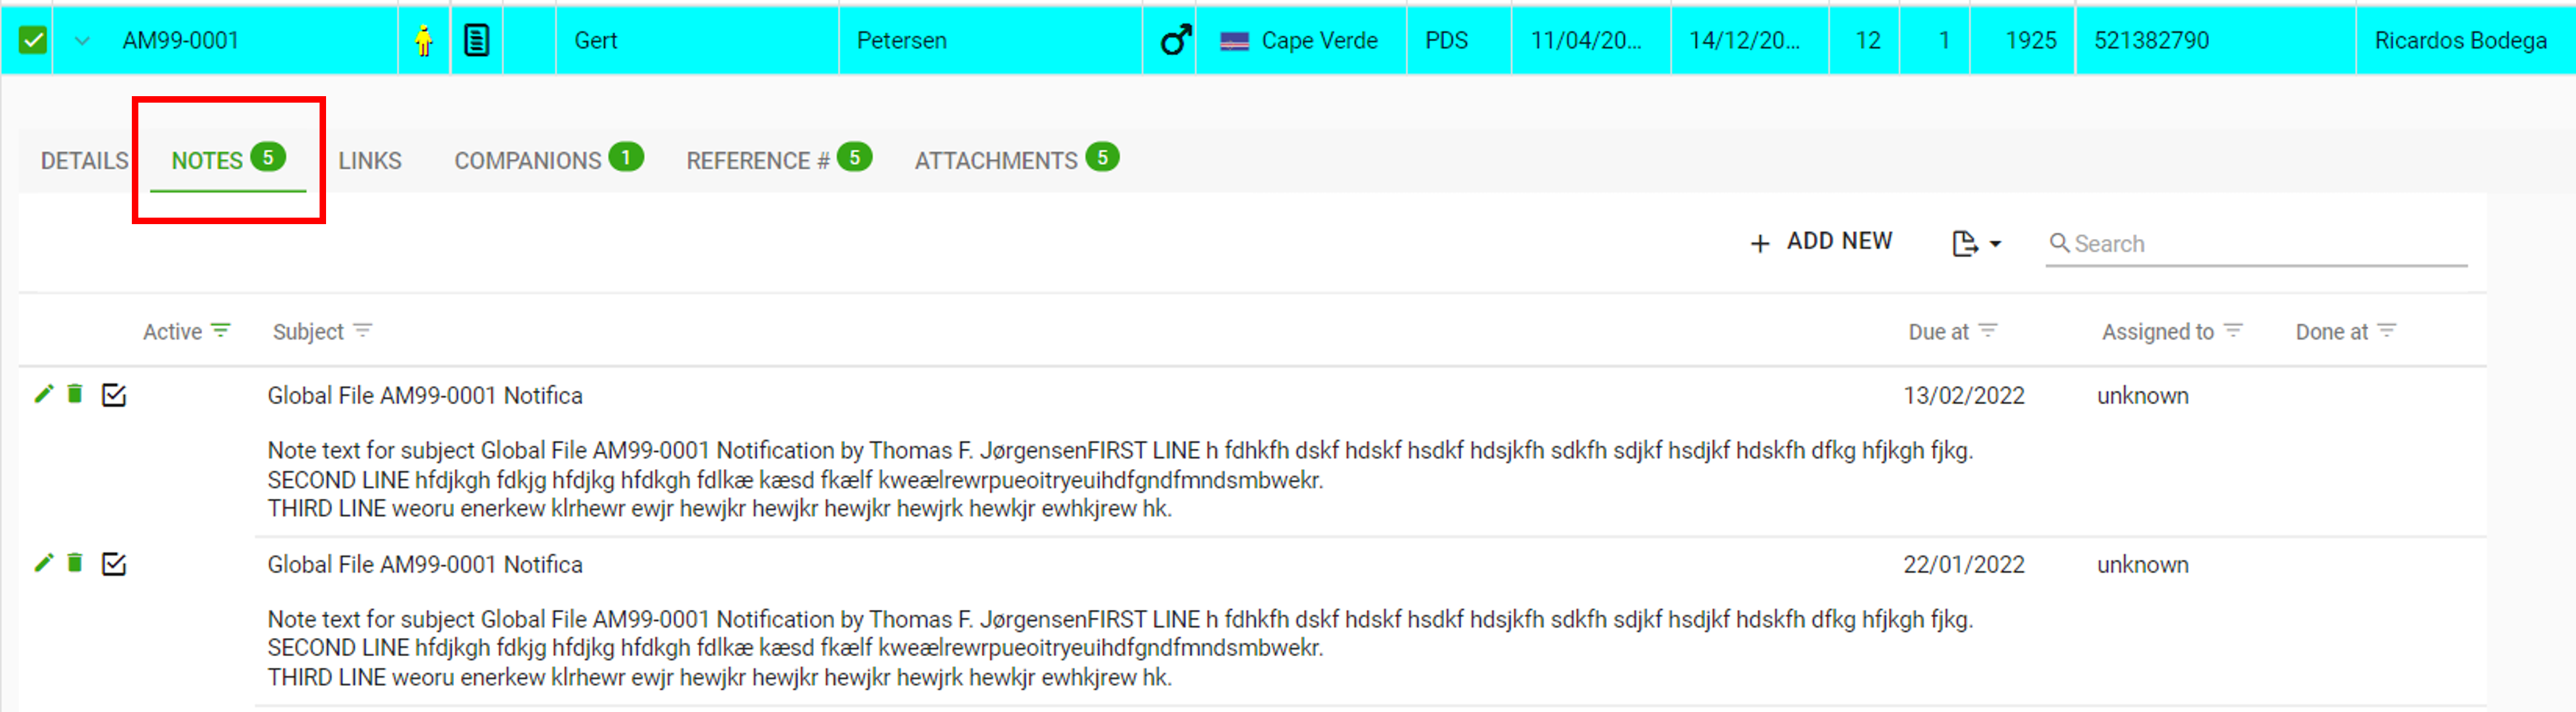
In the File Manager Expanded View you can edit or add notes on a file by clicking on the Notes tab
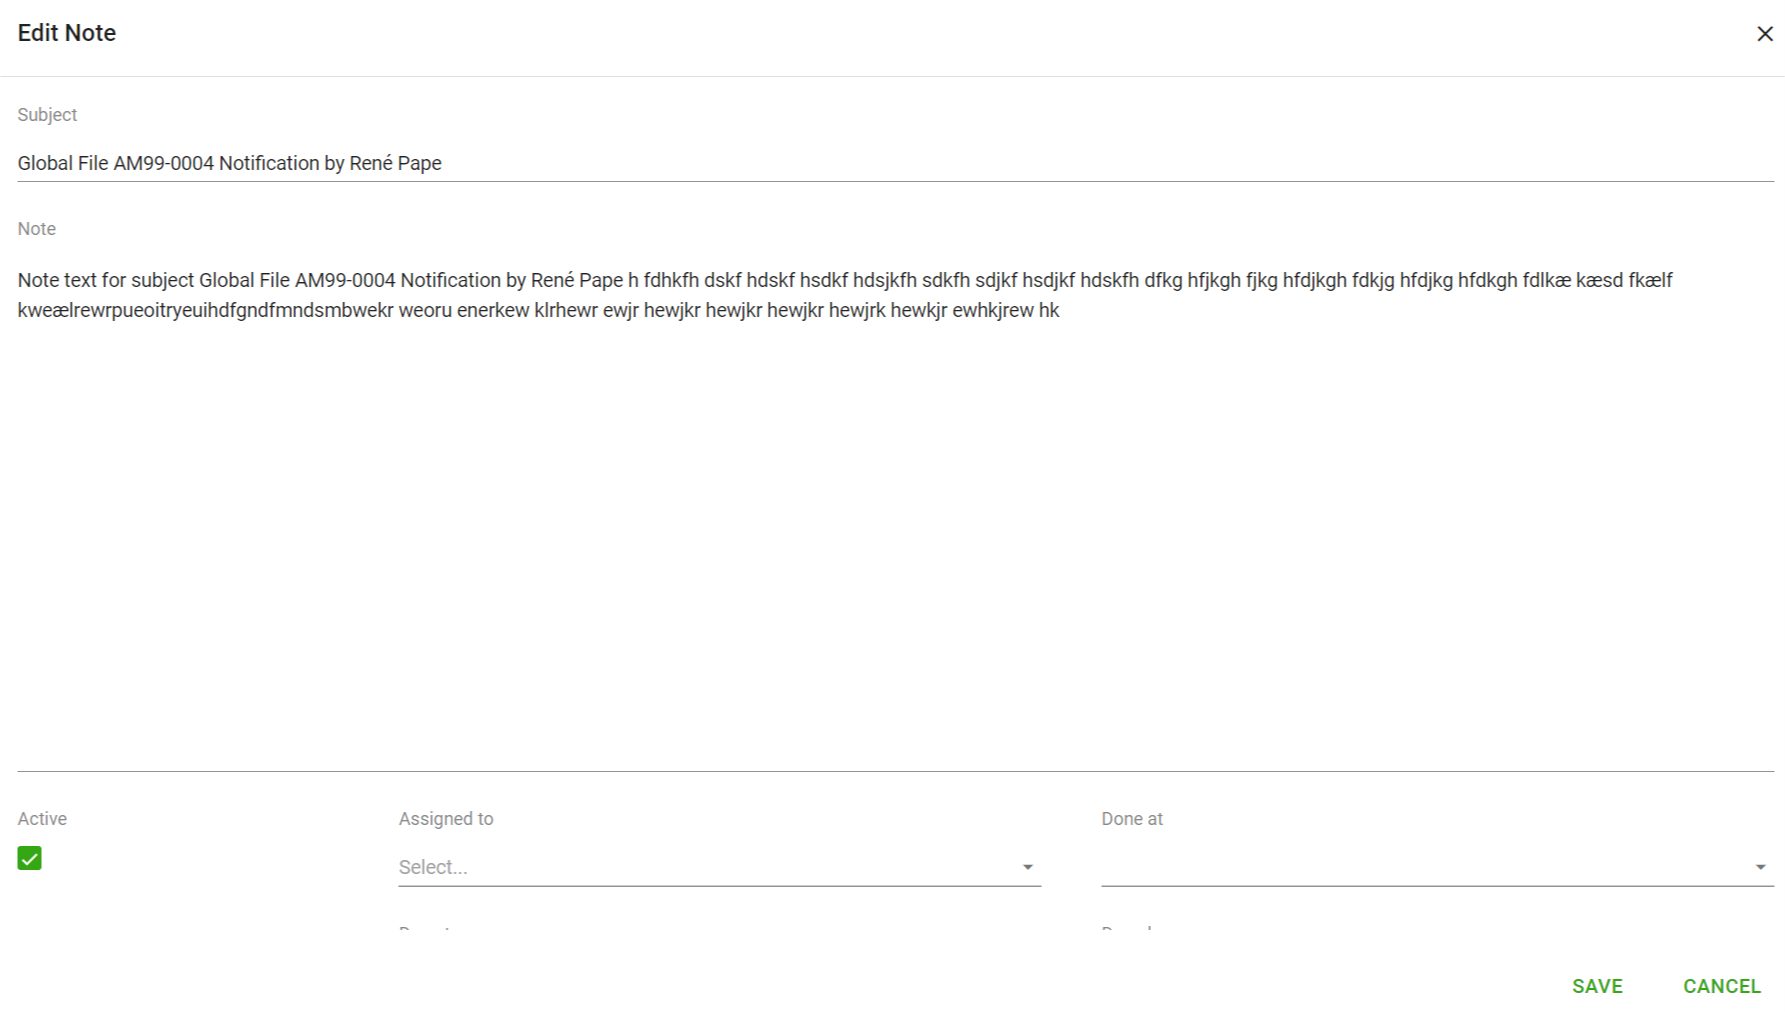
To edit a note: click the pencil icon to the left of the note you want to edit
![]()
Edit the relevant information in the note and save the changes by clicking Save at the bottom right of the page.
To add a note: click the plus icon ![]()
![]()
and add the note info and then click Save:
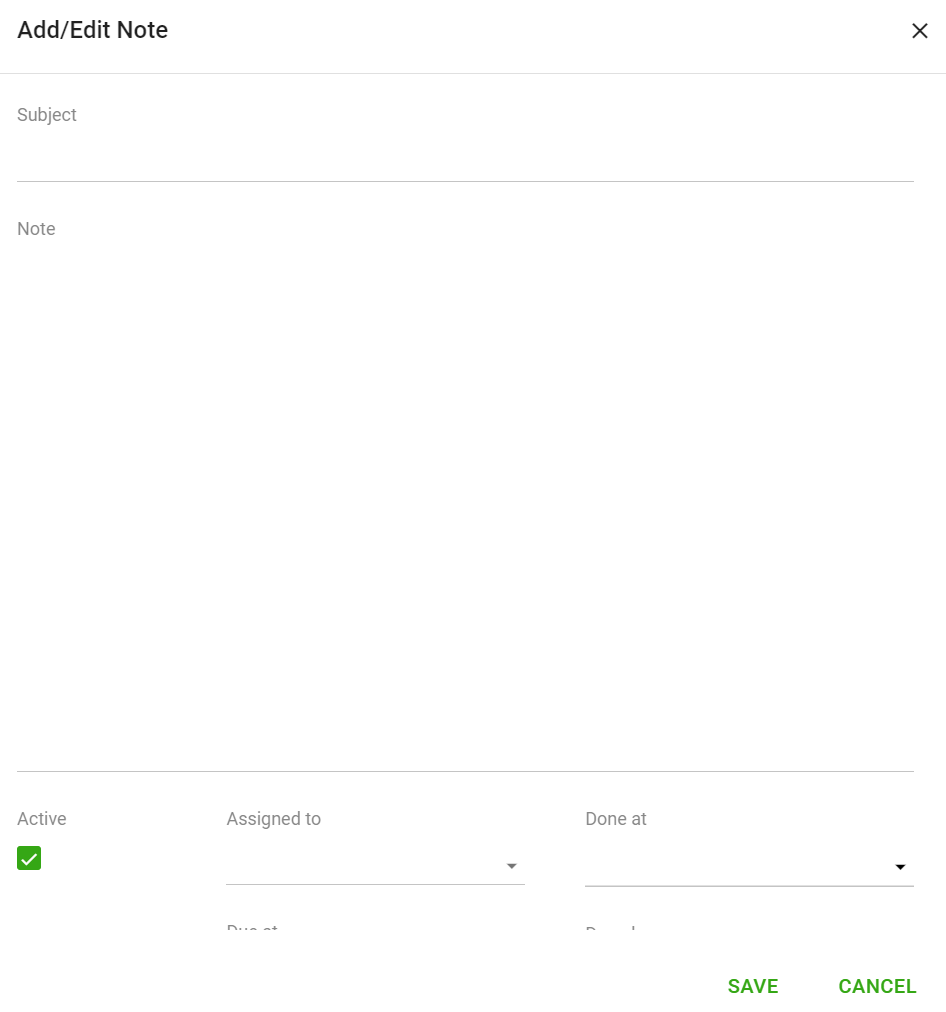
The new note is now added to the list of notes for the relevant file in the expanded view.